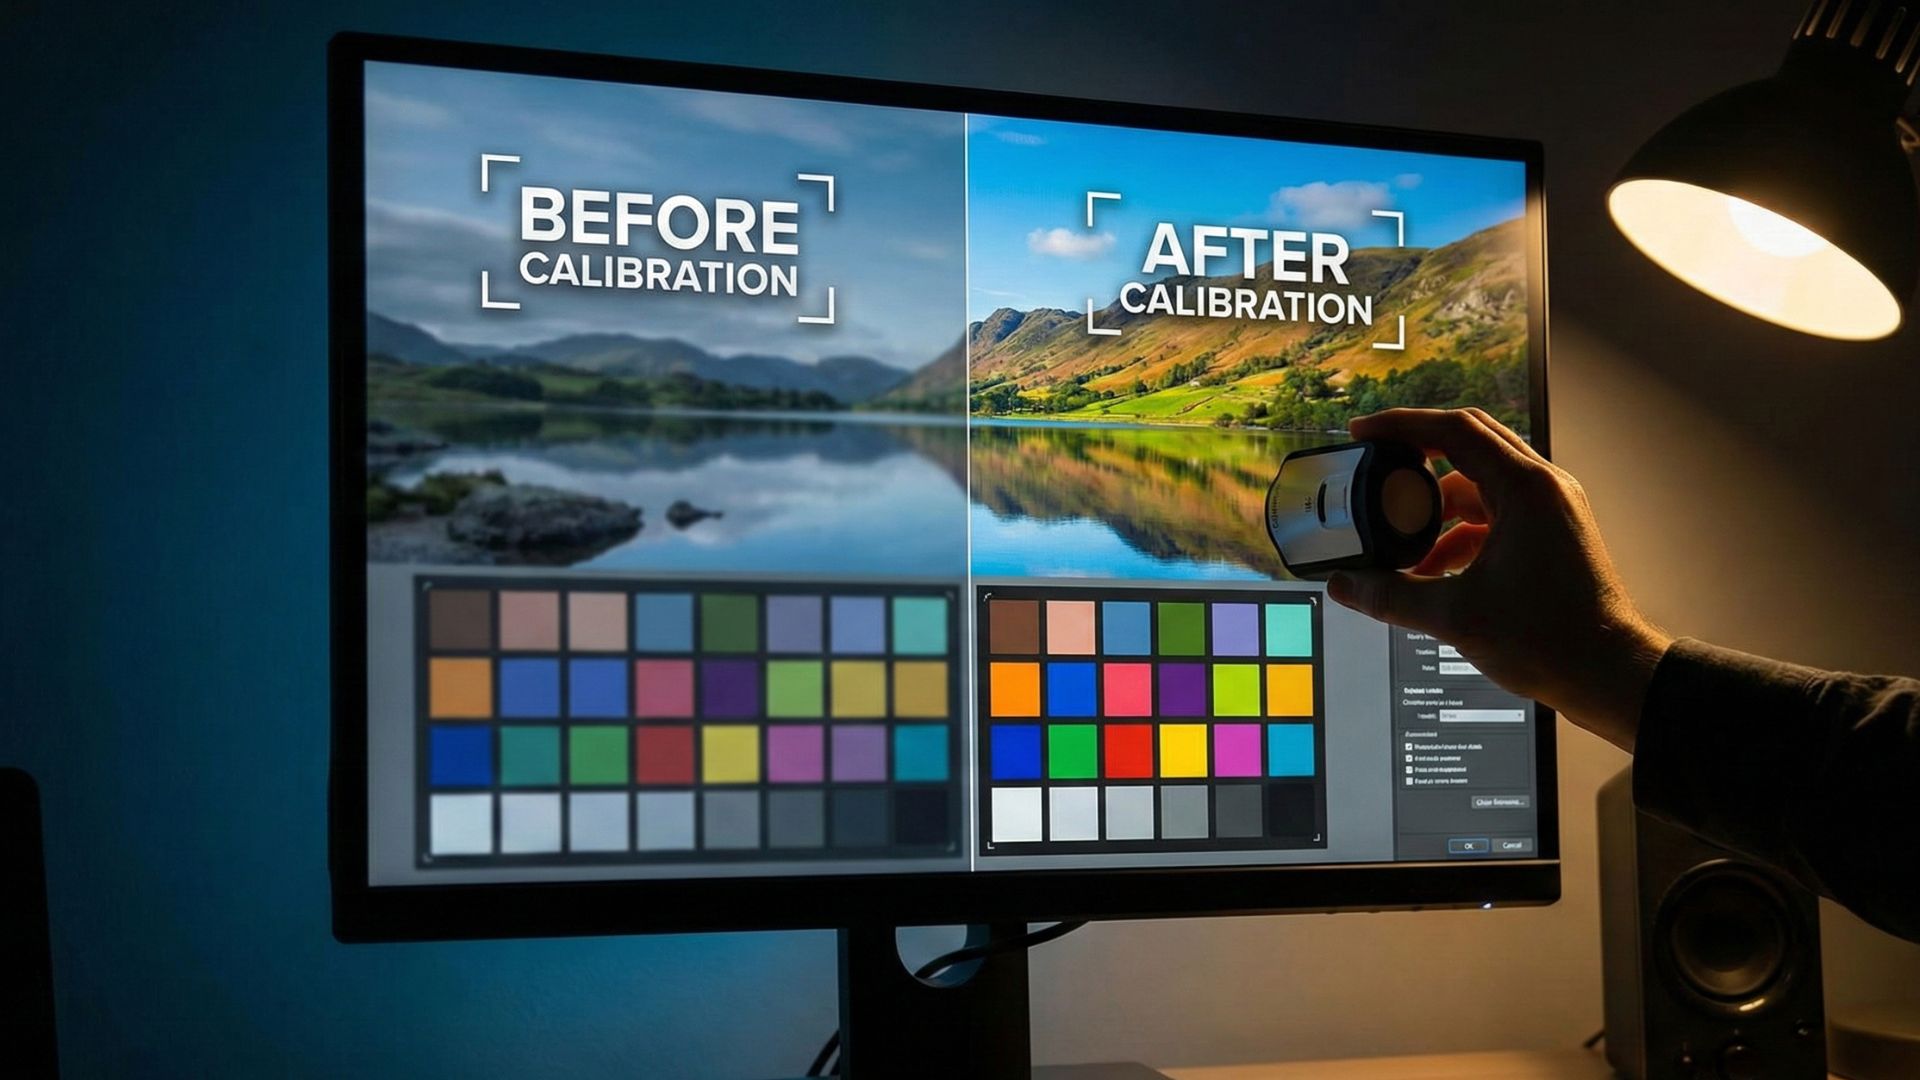
Getting accurate colors on your monitor isn’t just for photographers or video editors it matters for gamers, content creators, and everyday users too. A properly calibrated display gives you richer colors, sharper details, and a more comfortable viewing experience. Moreover, it ensures that what you see on your screen is as close to real life as possible. Fortunately, you can improve things significantly with just a few adjustments.
In this guide, you’ll learn how to calibrate your display for better color and clarity, even if you’ve never done it before.
Why Display Calibration Matters
Over time, monitors drift away from their factory settings. As a result:
- Whites may look yellowish or bluish
- Shadows may appear crushed or washed out
- Colors may be inaccurate or oversaturated
- Text may appear slightly blurry
Because of this, calibration becomes essential. It ensures consistency, and more importantly, it makes your display easier on the eyes.
Step 1: Reset to Factory Defaults
Before you tweak anything, start fresh:
- Open your monitor’s on-screen menu
- Look for Reset, Factory Reset, or Default Settings
- Apply it
By doing this first, you avoid calibrating on top of an already-messed-up configuration.
Step 2: Set the Correct Brightness & Contrast
Brightness and contrast affect clarity more than you think. Therefore, it’s important to set them correctly.
Brightness
- Set brightness between 25%–50% for indoor use
- If the screen looks too dim, gradually increase it
- Avoid 100% brightness it strains your eyes and reduces panel lifespan
Contrast
- Increase contrast until highlights look crisp
- If whites start to lose detail, lower it slightly
A good rule of thumb is: bright, but not blinding sharp, but not harsh.
Step 3: Adjust the Color Temperature
Most monitors default to a Cool (blueish) color profile. This makes whites look icy and unnatural.
Instead, switch to:
- 6500K (D65)
- sRGB
- Warm or Normal profile
These settings typically give the most accurate color representation.
Step 4: Use Built-In OS Calibration Tools
Both Windows and macOS include helpful calibration wizards. They guide you through gamma, color balance, sharpness, and more.
Windows 10/11 Calibration
- Open Start → search Calibrate display color
- Follow the step-by-step sliders
- Adjust gamma, brightness, contrast, and RGB balance
- Save the final calibrated profile
macOS Display Calibration
- Go to System Settings → Displays
- Open Color tab
- Select Calibrate
- Choose an accurate display mode
These built-in tools are surprisingly effective and easy to follow.
Step 5: Fine-Tune with Test Patterns
Even after calibration, it’s smart to verify everything. You can use online test patterns for:
- Gamma accuracy
- Black level
- White saturation
- Sharpness
- Gradient smoothness
Recommended websites:
- Lagom LCD Test
- EIZO Monitor Test
These patterns reveal issues you might otherwise miss.
Step 6: Enable Sharpness & Disable Unnecessary Enhancements
Modern monitors include extra features, but many of them reduce accuracy.
Enable:
- Slight sharpness boost (50–60% usually ideal)
Disable:
- Dynamic contrast
- Excessive HDR tone mapping (unless using HDR content)
- Black stabilizers or gaming filters
- Vivid color modes
Turning these off ensures more natural and balanced output.
Optional: Use a Hardware Colorimeter
If you want professional-grade accuracy, consider using a calibration device like:
- X-Rite i1Display
- Datacolor Spyder
These tools measure and adjust your monitor at a hardware level. Consequently, they produce the most reliable color profiles.
Step 7: Re-Evaluate Every Few Months
Display color accuracy drifts over time. Therefore, recalibrating your monitor every 3–6 months keeps it looking its best.
Final Thoughts
Calibrating your display isn’t complicated, and the improvements are often dramatic. Once you set the right brightness, tune your color temperature, and run the OS calibration tools, you’ll immediately notice clearer text, better shadows, and more natural colors. Ultimately, a properly calibrated screen makes gaming, editing, and everyday computing far more enjoyable.